What are Nutrient Deficiencies
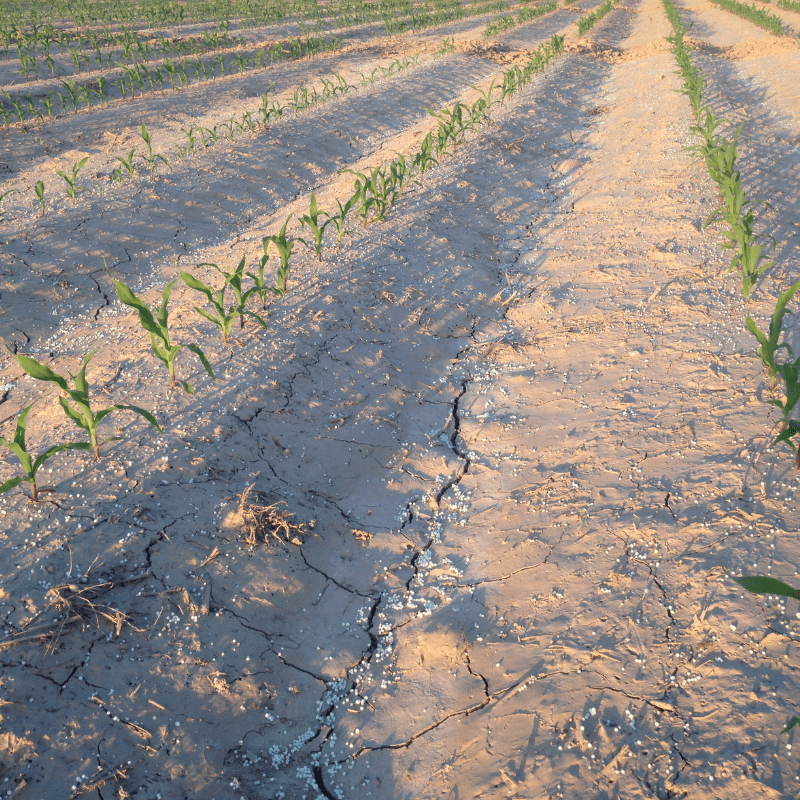
Nutrient deficiencies occur in plants when the availability or uptake of an essential plant nutrient cannot meet the demands of the plant required for adequate growth. Causative factors include nutrient availability within the soil, inadequate root growth, and soil structure issues such as soil pH.
Nutrient Deficiency Symptoms
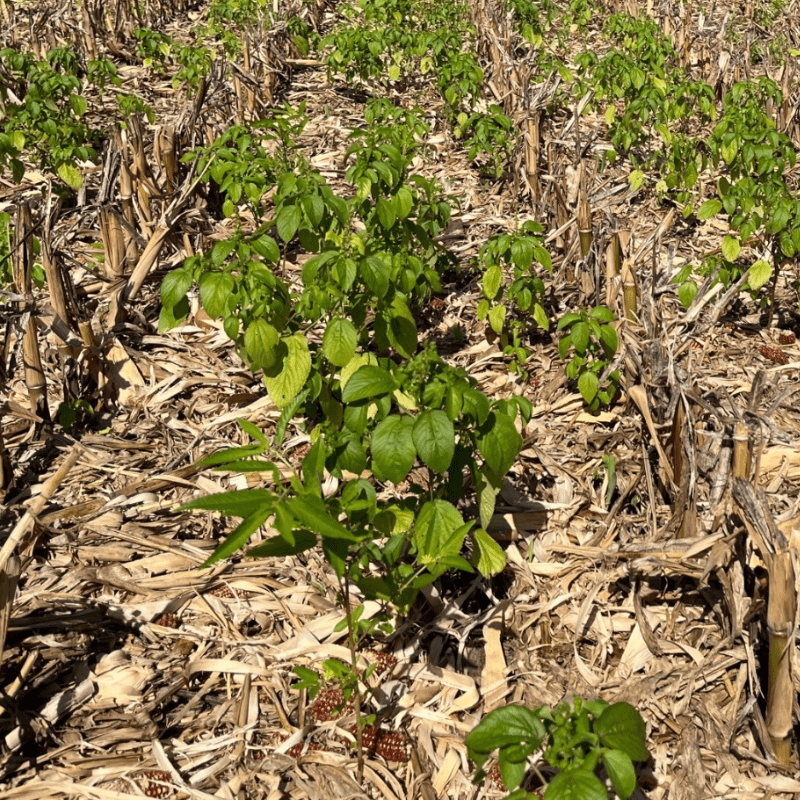
Nutrient deficiencies can present as a wide range of visual symptoms varying in color, growth inhibition, and affected physiology of the plant. When a nutrient deficiency is suspected within a field, a quick and accurate diagnosis of the causative nutrient can allow one to know what corrective action to take.

How to Diagnose a Nutrient Deficiency
Step 1: Location and Mobility
The first step to diagnosing a nutrient deficiency is determining the location within the plant canopy. Nutrients mobile within the plant (Nitrogen, Phosphorus, Potassium, Magnesium, and Molybendum) will generally exhibit symptoms on the oldest leaves in the lower part of the plant canopy. Immobile nutrients (Sulfur, Boron, Calcium, Iron, Manganese, and Zinc) will generally exhibit symptoms on the youngest leaves in the uppermost part of the plant canopy.
Step 2: Visual Cues
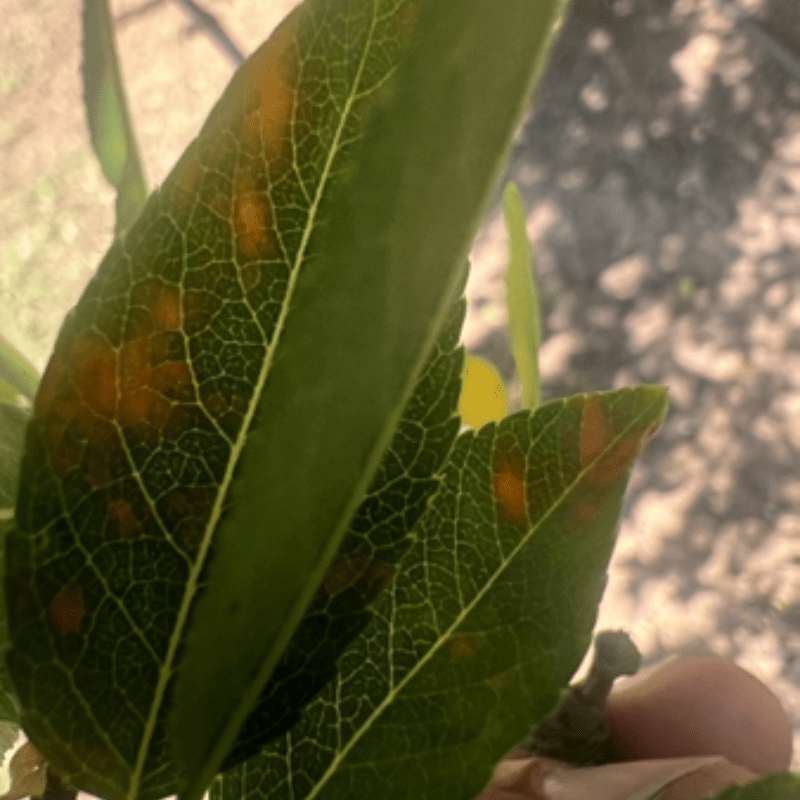
Following a determination of the mobility of the causative element, visual cues, including leaf and mid-vein coloration, can provide insight into the deficient nutrient. Visual cues to take note of include: overall leaf color, striping, leaf vein color, location within leaf, leaf physiology, plant vigor, and overall field conditions. While visual cues can provide insight into diagnosing a nutrient deficiency, the best way to confirm an in-field diagnosis is via soil and tissue testing.
Step 3: Insight and Comparison
Often, nutrient deficiencies occur as a patchwork across a whole field, with some areas being affected “bad” and others showing normal growth “good.” A comparison via soil and tissue lab analysis of the soil and plants within the “good” and “bad” portions of the field can often provide further insight into the original cause of the visual symptoms exhibited.
Step 4: Tissue Sampling
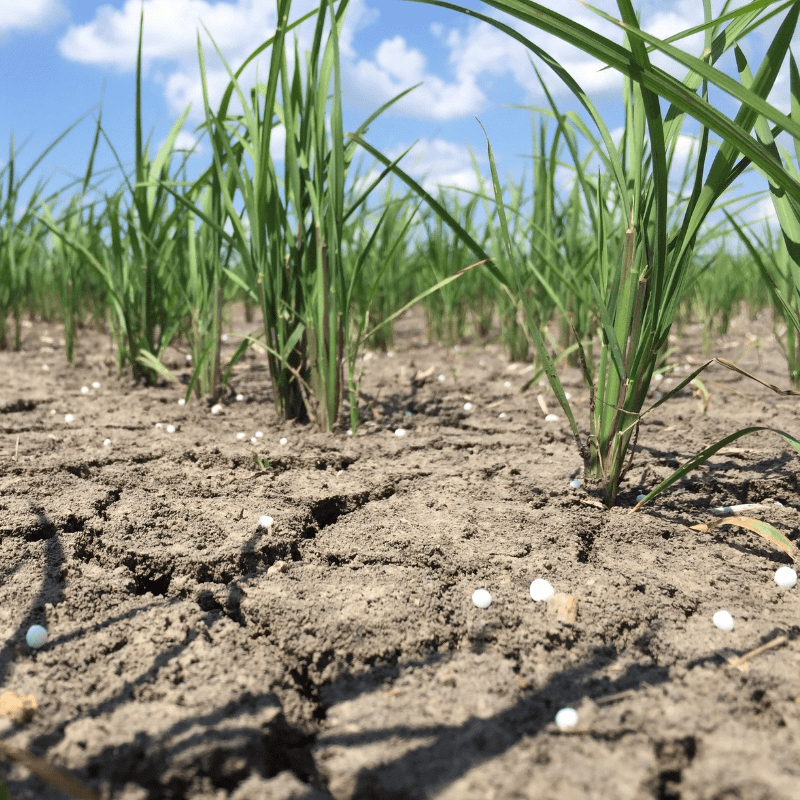
Collecting tissue samples for lab analysis from the leaves of at least ten plants in the “good” and “bad” areas of the affected field is very important. Follow the guidelines of the lab that will analyze the samples. Soil samples should be collected from the same area as leaves for analysis and consist of a well-mixed composite sample that accurately represents both “good” and “bad” areas of interest.
Step 5: Take Action
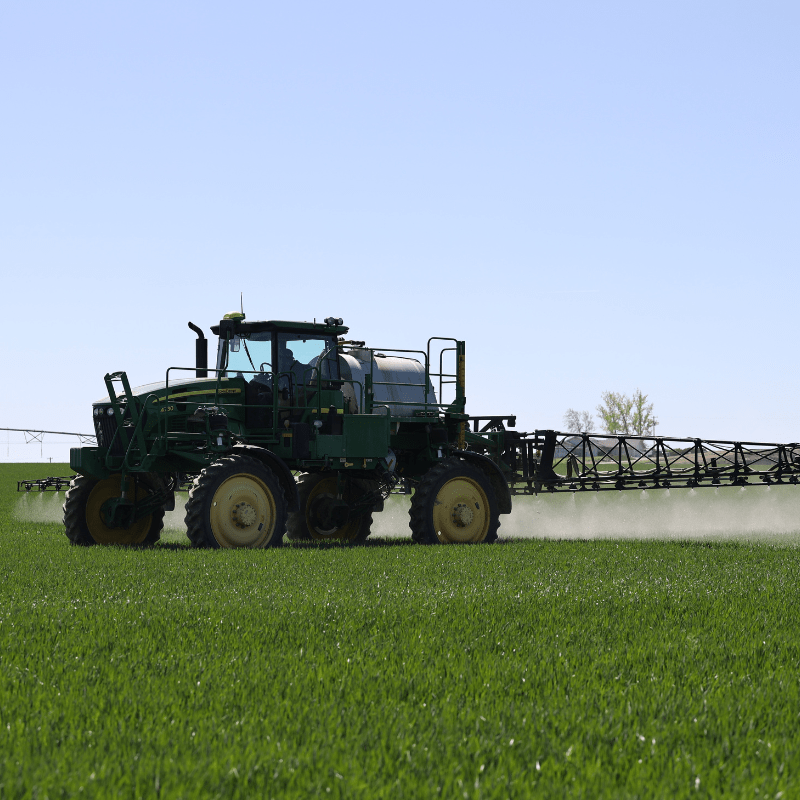
Following a diagnosis and confirmation of an in-field nutrient deficiency, take corrective action in the form of a dry or foliar fertilizer application. Untreated nutrient deficiencies can often lead to a greater incidence of disease, lower tolerance to pests, and significant yield losses.
The Takeaway
To learn more about nutrient deficiencies and ways to better protect or treat your crops, contact your local Simplot Grower Solutions Crop Advisor.
Author
Justin McCoy (Southwest)